Category Archives: Crazy

NSL’s qualifier submission for RBC 2013! “Tic Tac Woah”

This entry was posted in Build, Crazy, Creations, Video on .
Tic Tac Woah

Here’s our submission video!

Vimeo video link (for those who are youtube blocked)

Backstory: Red Bull recently sent us a fancy shield for an Arduino, dubbed the “Turbull Encabulator”.  This is a play on a joke engineering video that used a bunch of technical jargon that made no sense whatsoever.  Nevertheless, this board was packing a ton of potential, (which others have covered in detail elsewhere).

Basically, it can control a ton of 12v standard RGB LED strips, individually addressable LED’s, has sensors for temperature, includes DMX protocol – the works.  With this, Red Bull Challenged us to make something “awesome” using their device.  The basic requirement was to include lighting and interactivity.

We started by studying the shield extensively:

IMG_3076


IMG_3083

We came up with a fun idea that turned out to be a lot more work than we bargained for: a nice light up Tic Tac Toe board.

IMG_3085

Very early on, we could see the potential was there:

IMG_3099

For this build, we relocated our home build CNC router to its new home in 757Makerspace:

IMG_3107

2013-04-22 12.15.39

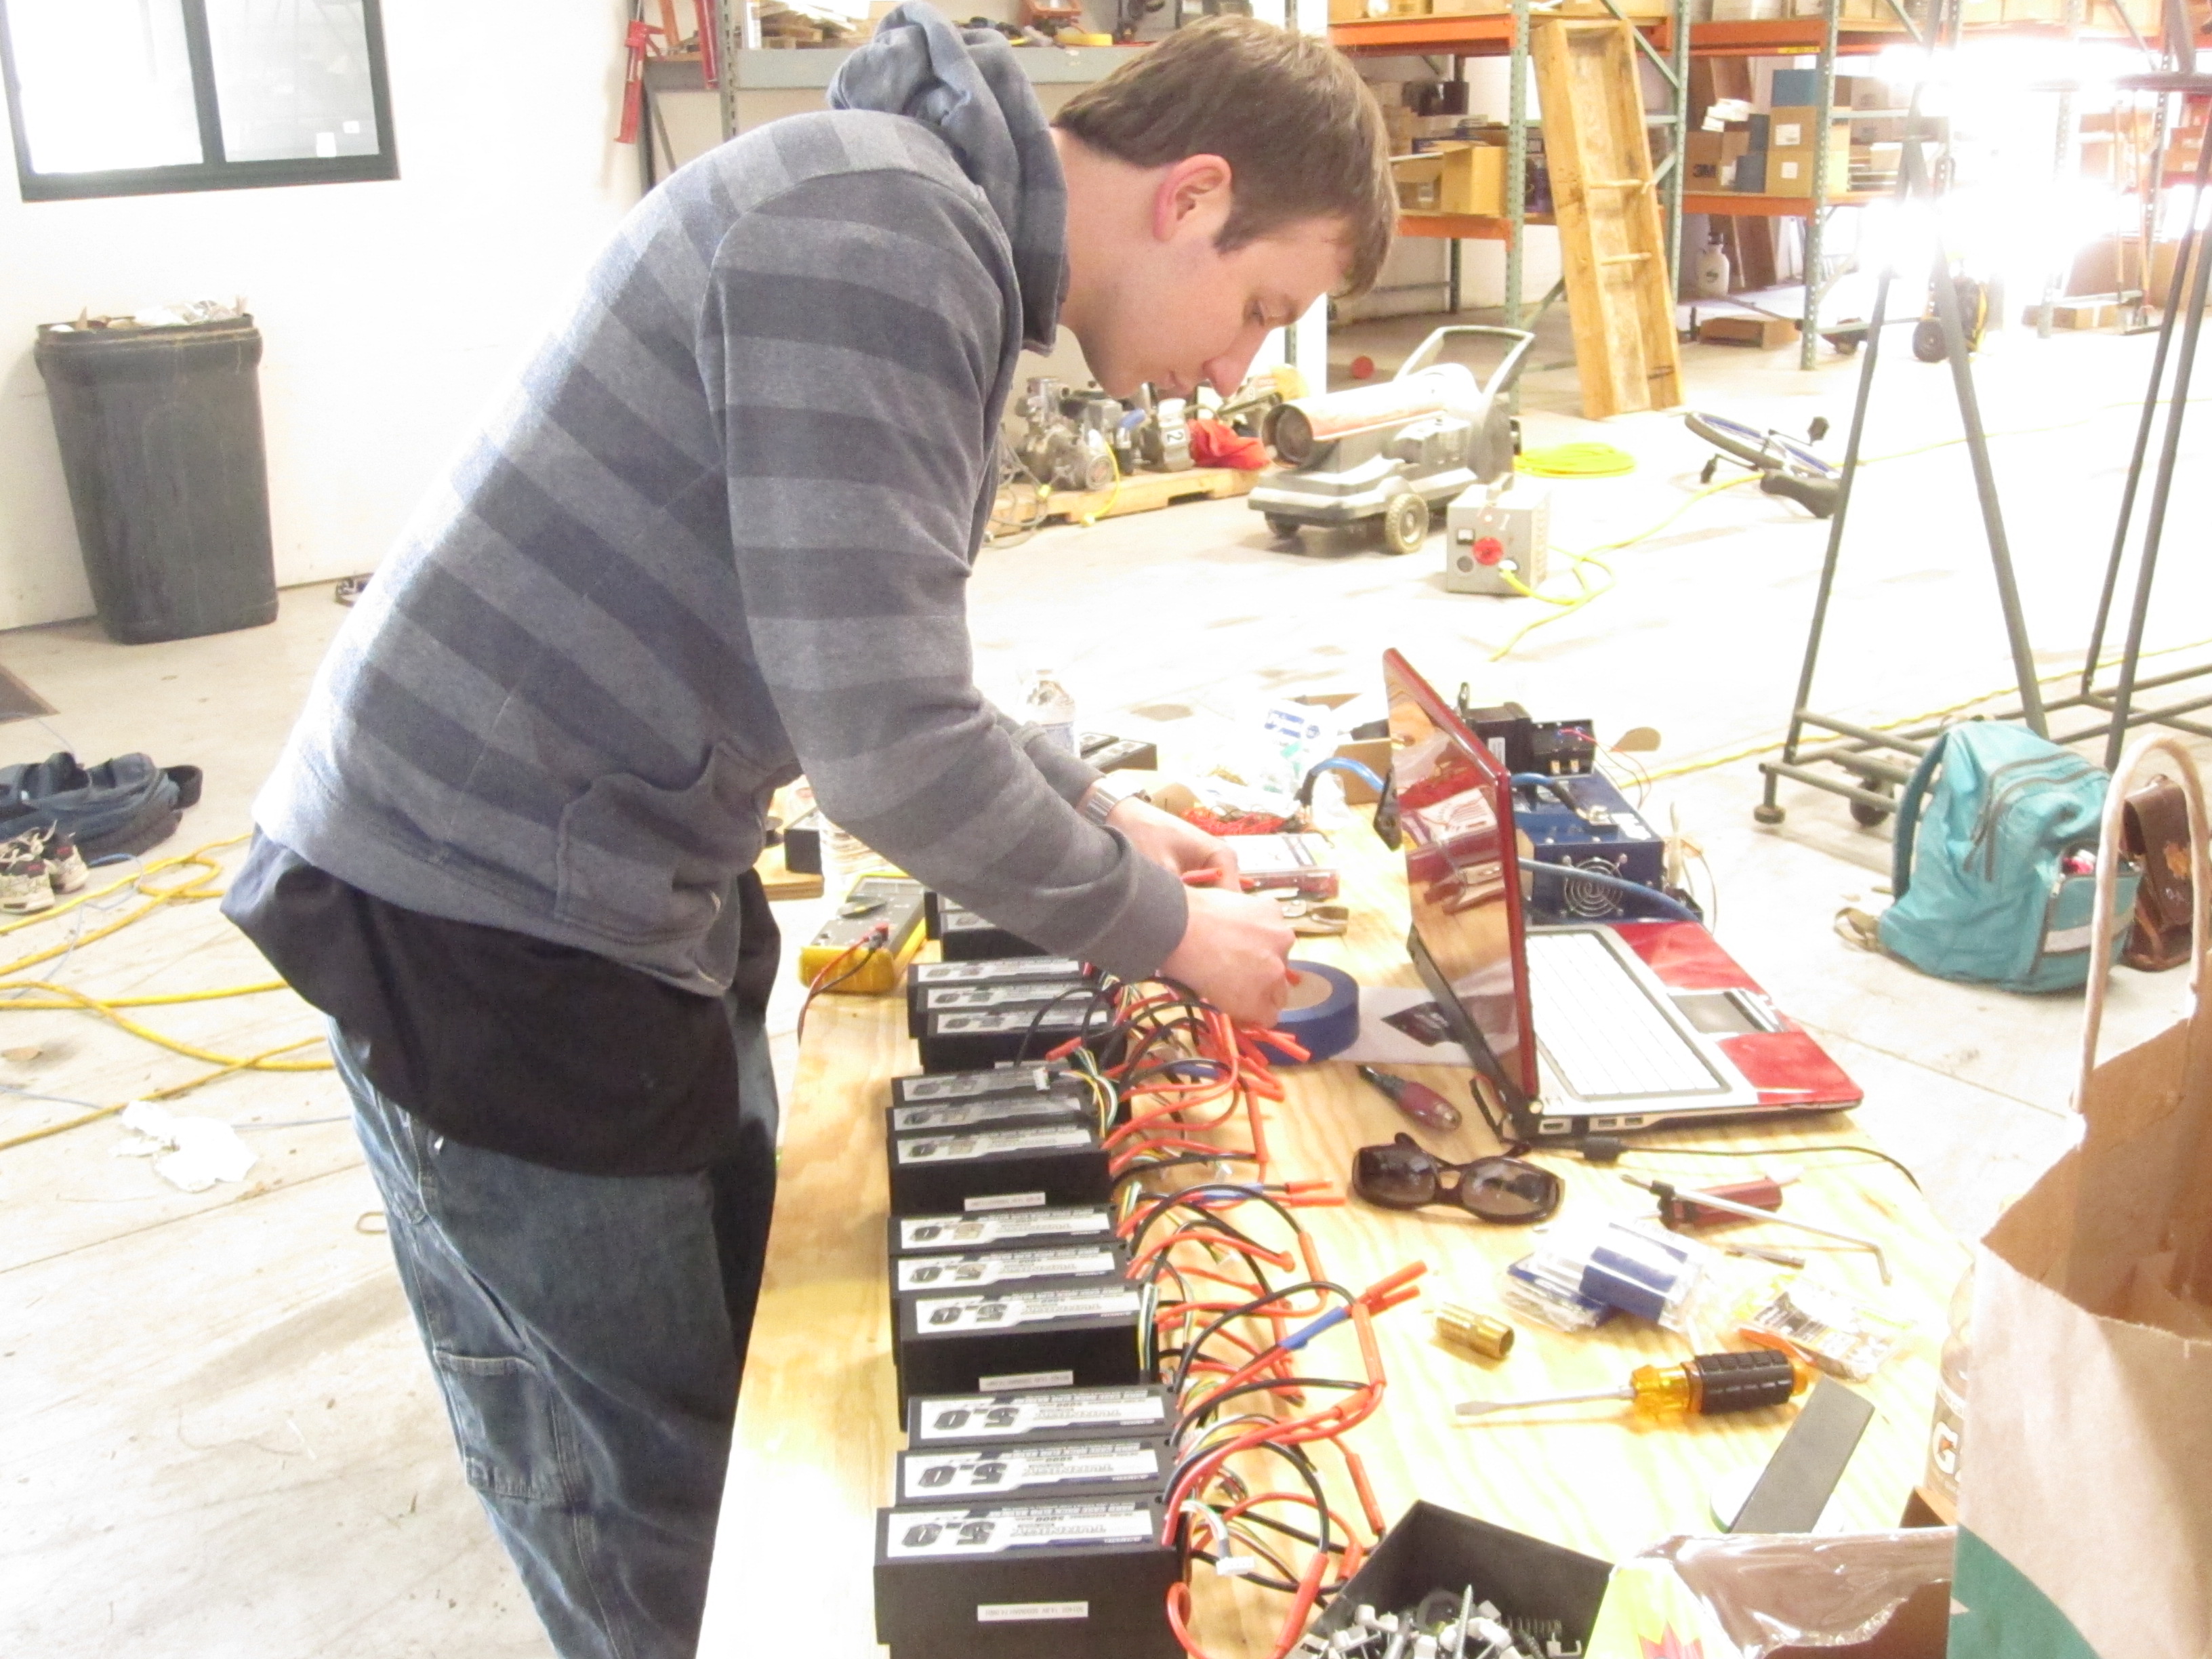
Justin is seen below doing some initial wiring for the build.  The LED strips utilized common positive.  Standard “telephone” hook-up wire was used to connect the negatives.

IMG_3127

Due to the spacing of the X and O pattern, each strip had to be separated.   This involved removal of the waterproof barrier via heat knife and soldering extensions directly to the pads inside:

2013-04-28 14.16.12

Alex did a great job designing the CNC cuts to be made.  Borders, tops, sides, and plexiglass were all done with very tight tolerances.

2013-04-22 20.26.28

2013-04-22 20.01.44

We later discovered that it would have been much easier to simply make things “loose” and hot glue it in place.  Hindsight is 20/20 though!  Live and learn.

2013-04-26 19.15.42

There were 8 cuts per square, 9 squares, and more plexiglass cuts on the exterior.  These were all sanded with 60 grit for a nice opaque finish to allow smooth light flow to come through.

IMG_3217

Alex cutting out the border on our machine:

IMG_3221

After the border was cut out, 2 layers of paint were applied, as well as a clear coat to easily clean off dirt from people walking on it:

IMG_3330


IMG_3329

Below shows Justin working on the wiring.  Being on a tight budget, we used spools of wire that we already had but was very stiff and difficult to work with.  We had a few broken solder joints that had to be repaired after installing the light assembly.  The breaks were purely the result of excessively stiff wire.  Pro-tip: spend the extra money for “noodle wire”.  It’s flexible, easy to strip, and solder.  I had a limited amount, but none of those solder joints failed during the build.

IMG_3371

The picture below shows the buttons made from PVC.  They were sanded down, painted red on the top, and re-purposed bed-springs were used for easy glide motion with long throw.  The switches we used were rocker style, wired to be naturally open against the retaining ring.  By pushing down on the button, the retaining ring released the switch to connect it.  In retrospect, we wish we had purchased better quality switches.  We had major problems with them randomly popping apart from their (barely) press fit housing.  We had to glue the case on all of them.

IMG_3317

Below, Steve is seen working on his EE senior design project intermittently through the build; he still managed to pull off the programming for the Tic Tac Woah.  The code was modified from a self-playing tic tac toe game, changed to accept inputs, interact with the Turbull Encabulator shield, and make nice lighting effects.  The code is here: TTTLightXO

IMG_3133

A picture of a game being played is shown below, but the pictures do not do it justice.  A lot more of the detail can be seen in the video at the top!

IMG_3398

Thanks for reading!

757MakerSpace.com!

This entry was posted in About, Crazy on .
DSC00134

North Street Labs is partnering up with 757Makerspace.com!

DSC00174
This summer Hampton Roads will never be the same: a new kind of workshop is coming to Downtown Ghent. 757Makerspace will be a space where the average Joe can come and learn to 3D print, mill, lathe, CNC, laser cut, engrave, weld, build, create, program, and so much more!  Classes will also be available to learn new equipment, skills, and assist with the creative process.  Literally, there will be one million dollars in tools at your disposal to make your dreams become a reality.

Of course we will also be bringing our normal level of “CRAZY.”  With our powers combined, expect to see some of the best and most outrageous creations ever produced by North Street Labs! Next step: World Domination!

So, become a member of the Makerspace today for a very low monthly membership fee! Click HERE to start now!

IMG_9829 (500x333)  IMG_9851 (500x333)


Check out our TriFly, an electric propeller driven land vehicle!

This entry was posted in Build, Crazy, Creations, Uncategorized, Video on .
861069_10151582683505802_406360809_o

We had 48 hours to make something for “The Deconstruction 2013.”  For our build, we took junked items apart and transformed them into something fun and awe inspiring!  The end result is The TriFly, a 3 wheel electric propeller driven land vehicle!

Basic build details:

  1. 20 HP (continuous) 72v neodymium motor
  2. 36×12 cheapo mass produced beechwood hobby propeller.  Wish we could have got larger!
  3. 2 junked golf carts kindly donated from ODU.
  4. Ultra powerful demonic red projector LED’s from a scrapped theater projectors
  5. speaker housing for mounting lights
  6. Glass shower knob adapted to throttle
  7. “Racing” Ford Bronco bench seat practically given away on Craigslist
  8. We custom machined adapters with our metal lathe to mount the atypical motor to the propeller
  9. 2.22 kWh 74v nominal LIPO battery pack, 400A controller
  10. Old 4 AWG car stereo wiring and distribution blocks from highschool a decade ago
  11. Probably a lot more we are forgetting, we are still recovering!

5

Capture1

Capture2

Capture3

Capture4

Capture6

Capture7

These parts were aligned by custom machining an adapter of varying diameter down the shaft to perfectly center the pieces so it could be drilled out perfectly.


IMG_2872

Loading it on the truck after the build!

IMG_2853

Battery Chaos.  30 5AH 14.8v nominal packs in combination series & parallel.  2.2kWh of fury.

IMG_2865

Demonic front end.

IMG_2874 DSC00099

CNC machined an aluminum disk for the prop.

DSC00110

Grunt work from random helpers!

DSC00122

Cheap prop balancing tool.

DSC00149

Fabricating things up.  These seats caught fire about 9 times during the process of welding around it.

DSC00207

DSC00211

George Norris adding some character

IMG_2848

Welded together our own hardware for prop mounting because nothing was available to fit our needs locally within our time constraints!

IMG_2878

Thanks for reading!

In a pinch, jump start your car with a tiny 1lb LIPO battery!

This entry was posted in Crazy, Video on .
4s turnigy

Steve’s car battery died, and he needed to get to an exam.  He needed to be on his way quickly, so we decided to jump start his Nissan Sentra with a tiny handheld lithium battery!

The battery was 100% dead on this Nissan Sentra.  The LIPO battery started it right up!  WARNING: We do not recommend using this exact battery on a car if you are concerned about the electronics. It is at least 2v higher than max alternator charging voltage.  We are aware of this, so we disconnected it the moment it turned over.  If you want to jump your car with a lithium pack, use 4S LiFePO4 lithium instead.

The battery used in the video is 5AH 4S LIPO with cobalt cathode (LiCoO2).  These are 14.8v nominal, 16.8 full charge.  Manufacturer states they are 20C rated.  RC forums have supposedly got 30C out of them, or 150A discharge.  Basically, it’s a tiny 1.16 pound jump starter!  If you plan on doing this sort of thing, I highly recommend doing 4S LiFePO4 variety.  Although less energy dense, they are inherently safer and the nominal voltage is closer to a car’s (~13.2v nominal, 14.4v max).  The only thing keeping a LiFePO4 battery from being a direct drop-in for a car would be excessive charge rate and cell balancing requirements, easily remedied by a BMS.

If you insist on using LiCoO2 because they are cheaper, a 3S pack would be safer for your car electronics (11.1v nominal, 12.6v max).  However, you would need to remove the battery the moment it started to keep the alternator from damaging the pack (with a huge fire risk).  I don’t recommend it, which is why I suggested 4S LiFePO4 instead.

People who race their cars on the track would benefit from the weight reduction of using one of these batteries.  You could replace a 30 pound Pb battery with a 2-5 pound LiFePO4 Lithium pack.  Along with reducing the weight, it could improve the weight distribution on a front heavy car for improved handling.  Or, you can just use them to jump start your old beater in a pinch like we did!

Can Paper Cups Support A Car?

This entry was posted in Crazy, Video on .

Click below to watch a video, to show paper cups supporting a 1987 Nissan Sentra SE with only 104 cups!  Shortly after this we decide to have some fun, and we make a two-tiered stack using over 250 cups.  We don’t know if this will be of any use to the internet besides the hilarious waste of Starbucks cups!

Paper cups are amazing, seriously.  Can you imagine just over 100 cups supporting a vehicle weighing over 2,000 pounds?  Well get ready, because you don’t have to imagine it!  We’ve recently been donated thousands of these 4 Oz sample cups from Starbucks, they are all Christmas decorated and no longer useful.  Not to them anyhow.  This all started when Steve stood on only 5 cups side by side under one foot and the little hamsters in our brains took off.

Lets do the math:

1987 Nissan Sentra SE curb weight: ~2,500 lbs

Steve weight 160lb divided by 5 cups = 32 lbs/cup !

2500 lbs divided by 32 lbs/cup = 79 cups (rounding up, cant use .1 of a cup)

So that means we should be able to support the whole car with less then 100 cups! That is an incredible amount of strength for such a small and lightweight object that is simply nothing more than paper and wax. We then tried even less cups, Steve attempted to stand on 4 cups arranged in a square. The cups promptly flattened   After a couple cans of liquid Intelligence we discovered Steve’s body weight could be supported by only 4 cups if we double stacked them.  The footprint of only 2 cups is all Steve could stand on, so Steve stood carefully with both of them under the ball of his foot.  Success!  This method of double stacking means each cup can support an astonishing 40lbs of force.  This isn’t the maximum limit, but we noticed this is close to the point at which the lip of the cup will deform and unevenly distribute the weight.  A collapse usually follows deformation of the cup.  Check out the stills below of the construction.

IMG_2763

IMG_2761